
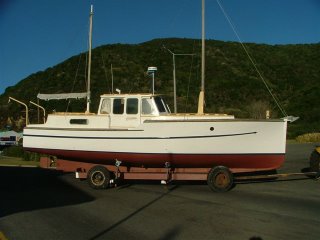
These shots will most likely have have been taken at Wharehunga on Arawapa Island, perhapos in the late 1940's or early 1950's.


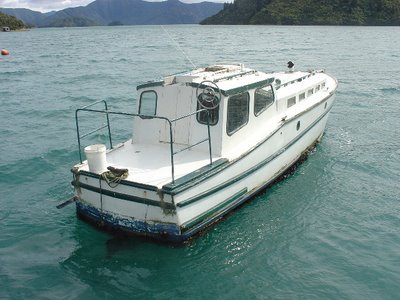
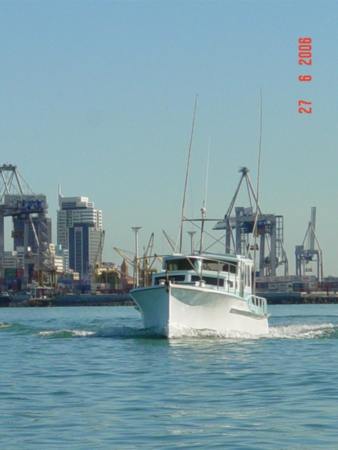
Later (1980's onwards) she was used as a support boat in the Marlborough Sounds Aquaculture industry. There is a photo of her in Carol Dawber's fine book "Lines in the Water".
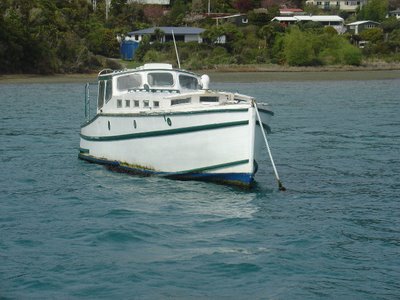
Now she looks like she's waiting patiently for a new custodian, or at least some TLC.
I am looking for some original photos which are hard to find...
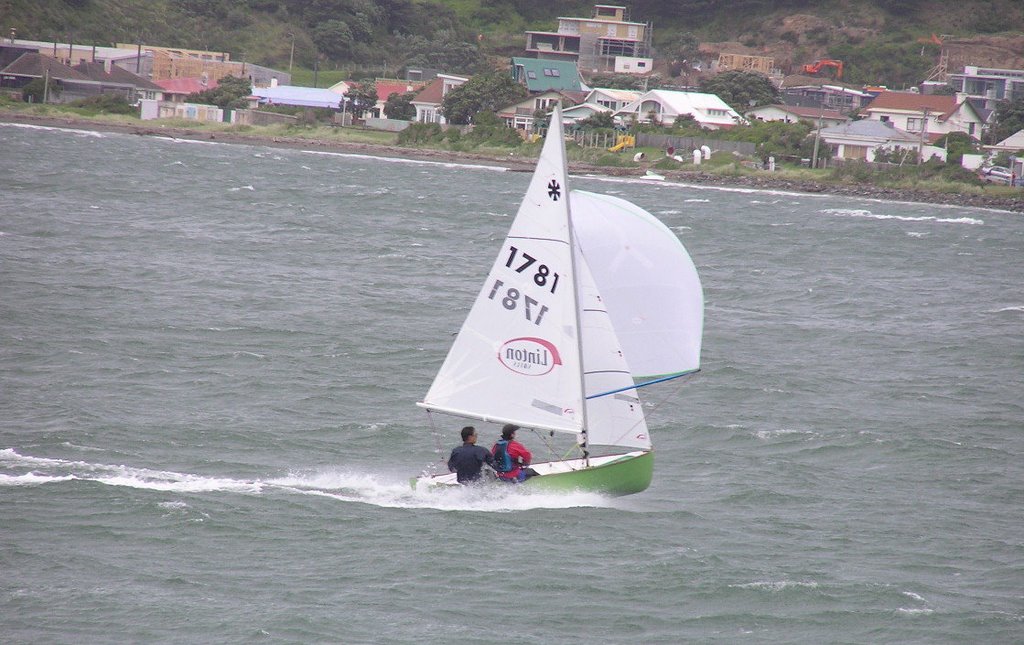
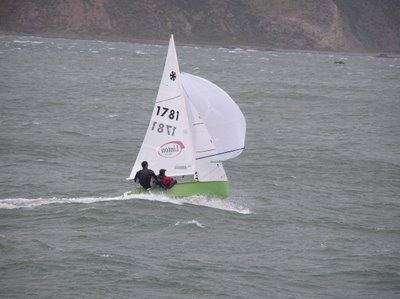
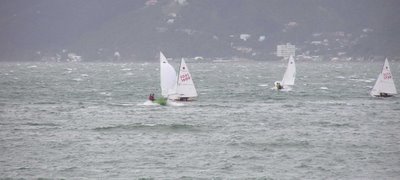
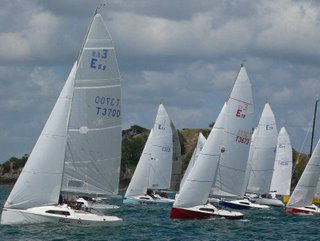
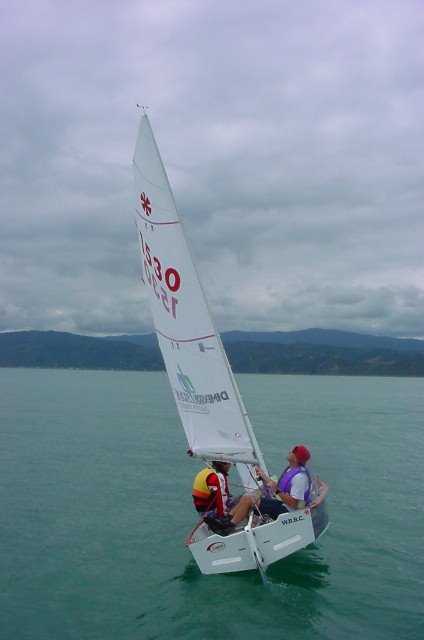
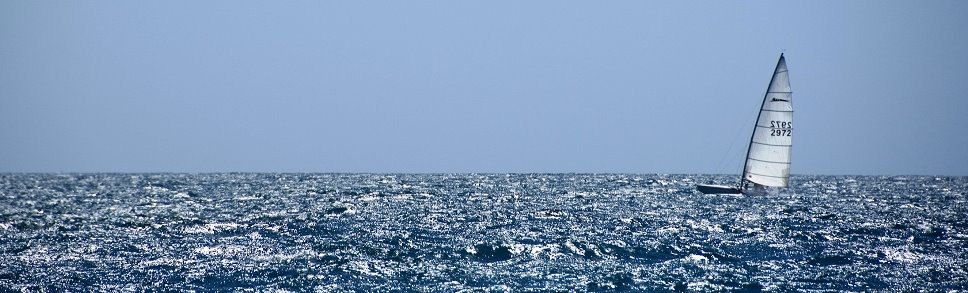
This was a windy day at WBBC in Wellington in 2004. Andrew Patterson took the shots. This is 1781 Envy.
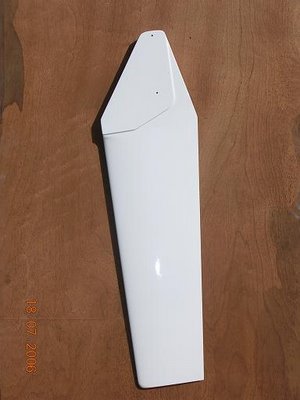
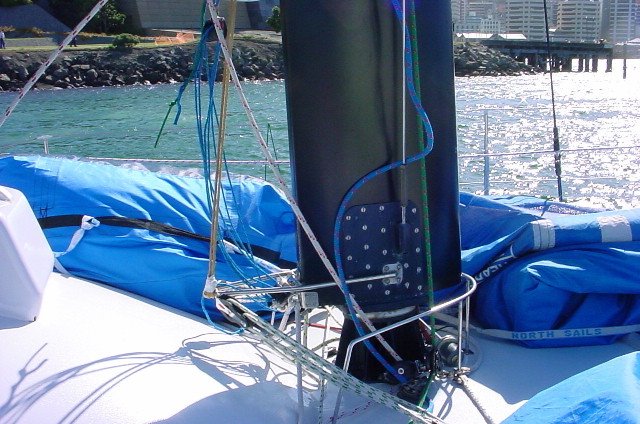
Due to the E5.9 rules, there's no carbon but usually Rob would put some around the stress areas. He builds blades, foils and dinghies for many NZ classes.
Ron has made a really nice job - there's not too many people around prepared to hand make timber or composite blades at a very reasonable price.

Regardless of whether you are a fan of keeping these fine ships in their original state or not, the new wheelhouse, higher foredeck and altered sheer (they aren't original) make for sympathetic and classy additions.
It might have been a Captain Williams who drafted the changes. He was then harbourmaster at Whangarei and he owned the boat for a short while.
In my opinion the side profile is perfect.

The builder who did the modifications is unknown.
Lovely... Last seen in Opua January 2011

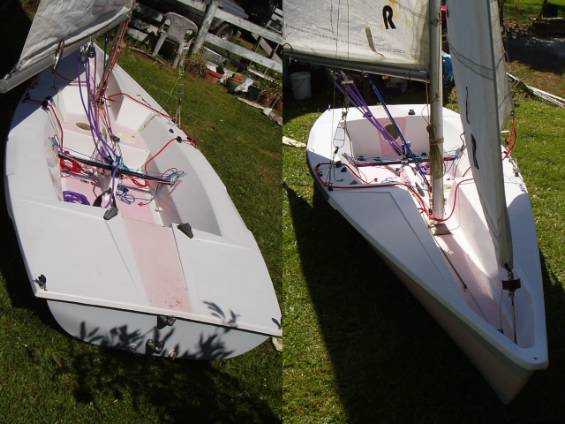
Not sure whether the advantages are there but different all the same...
 And from the other side....


One day I'll finsh playing with sailboats and get myself a launch instead...or as well.
 Congratulations to Brett and Alice Linton (Worser Bay, Wellington) who won the 2006 Sunburst Nationals at Mercury Bay at Easter.
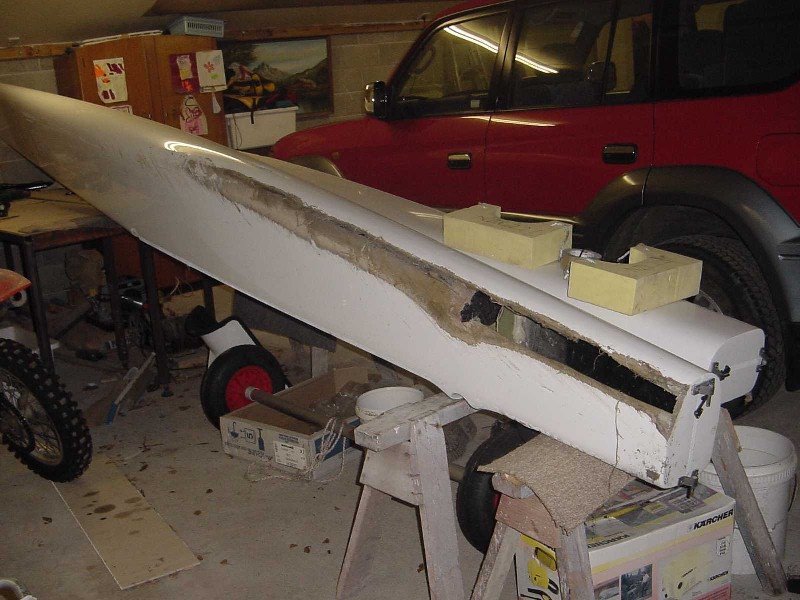
Well, not so clever - a brand new AHPC Flyer (A Class cat) damaged in a trailer rollover in gale force winds. The whole side panel has been pushed in - you can see the crease just below (above!) the gunwhale.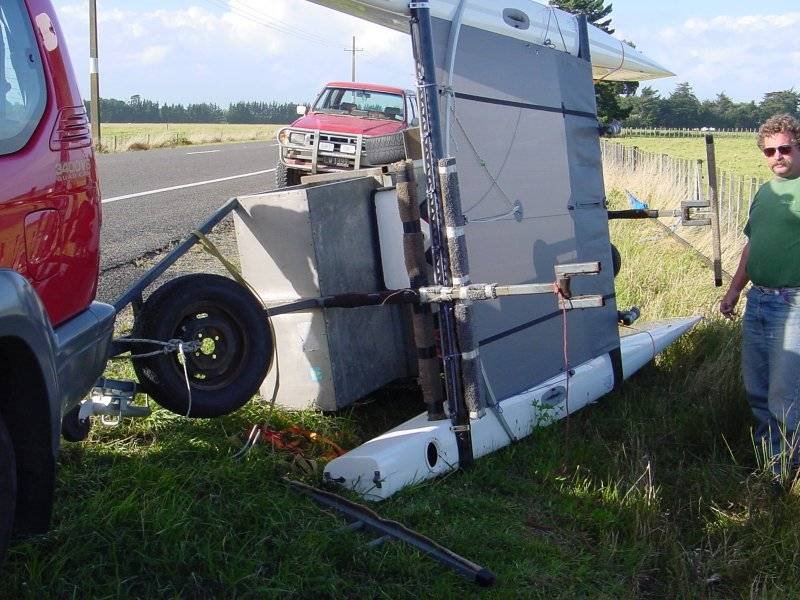
Here's the challenge; Fix the boat to race condition - i.e. under weight and strong ... The hulls weigh about 17 kg each.
Cutting away the damaged hull left a much larger hole. I used a router carefully set to leave a approx 20-30mm lip on the inner skin to glue the patch to.
The blue tape marks the shape of the patch required. This tape was carefully repeated on the undamaged hull.
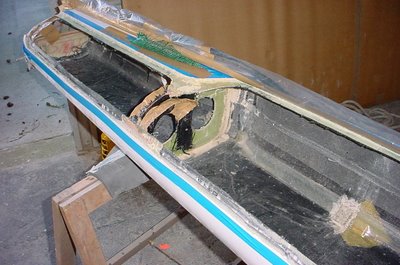
I took a mould off the undamaged hull and then laid up the patch using a vaccuum pump. Here's the finished patch (approx 2.5m long):

More to come...

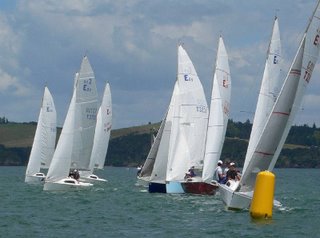
 Designed by Wellingtonian Alan Bryant, these are large and fast yachts and provide spectacular racing and amazing downwind speed in stronger winds. Members of the Wellington Club (WRYC) have developed these boats from scratch primarily with match racing in mind and many of the early yachts followed the colour schemes of one of the 1995 America's Cup yachts.
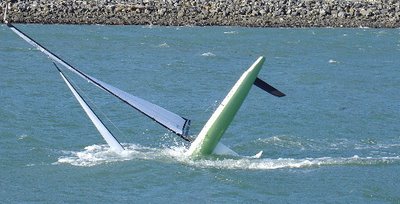

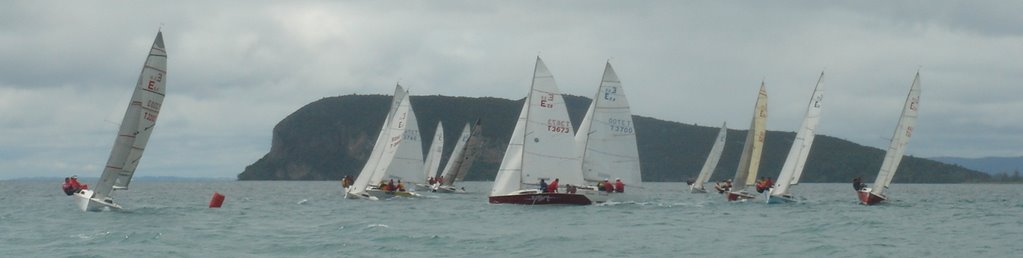
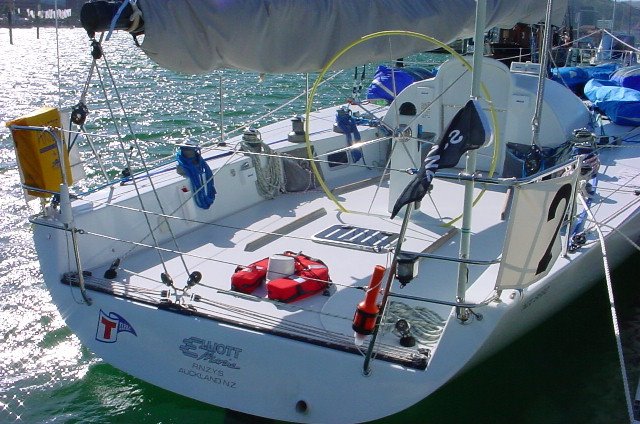
 The Elliott 5.9 was designed by Greg Elliott in 1980 and was first released in 1983. Conceived as a a out and out trailer yacht racer, the Elliott 5.9 boasts an efficient single spreader fractional rig, well balanced sail plan, practical deck layout and a performance hull that offers responsiveness and maneuverability.
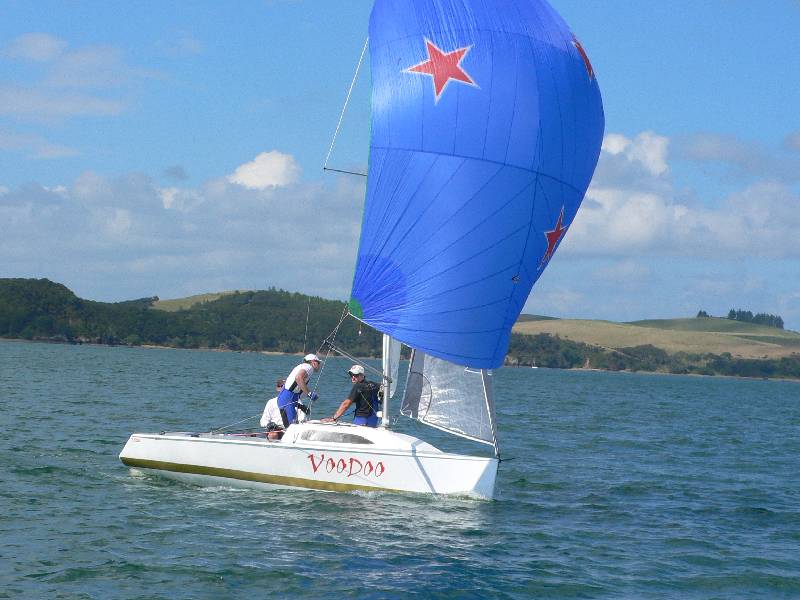


